Showing posts with label Only Cheese. Show all posts

Wednesday, August 26, 2015

Homemade FETA CHEESE! (Yes, It's True.)


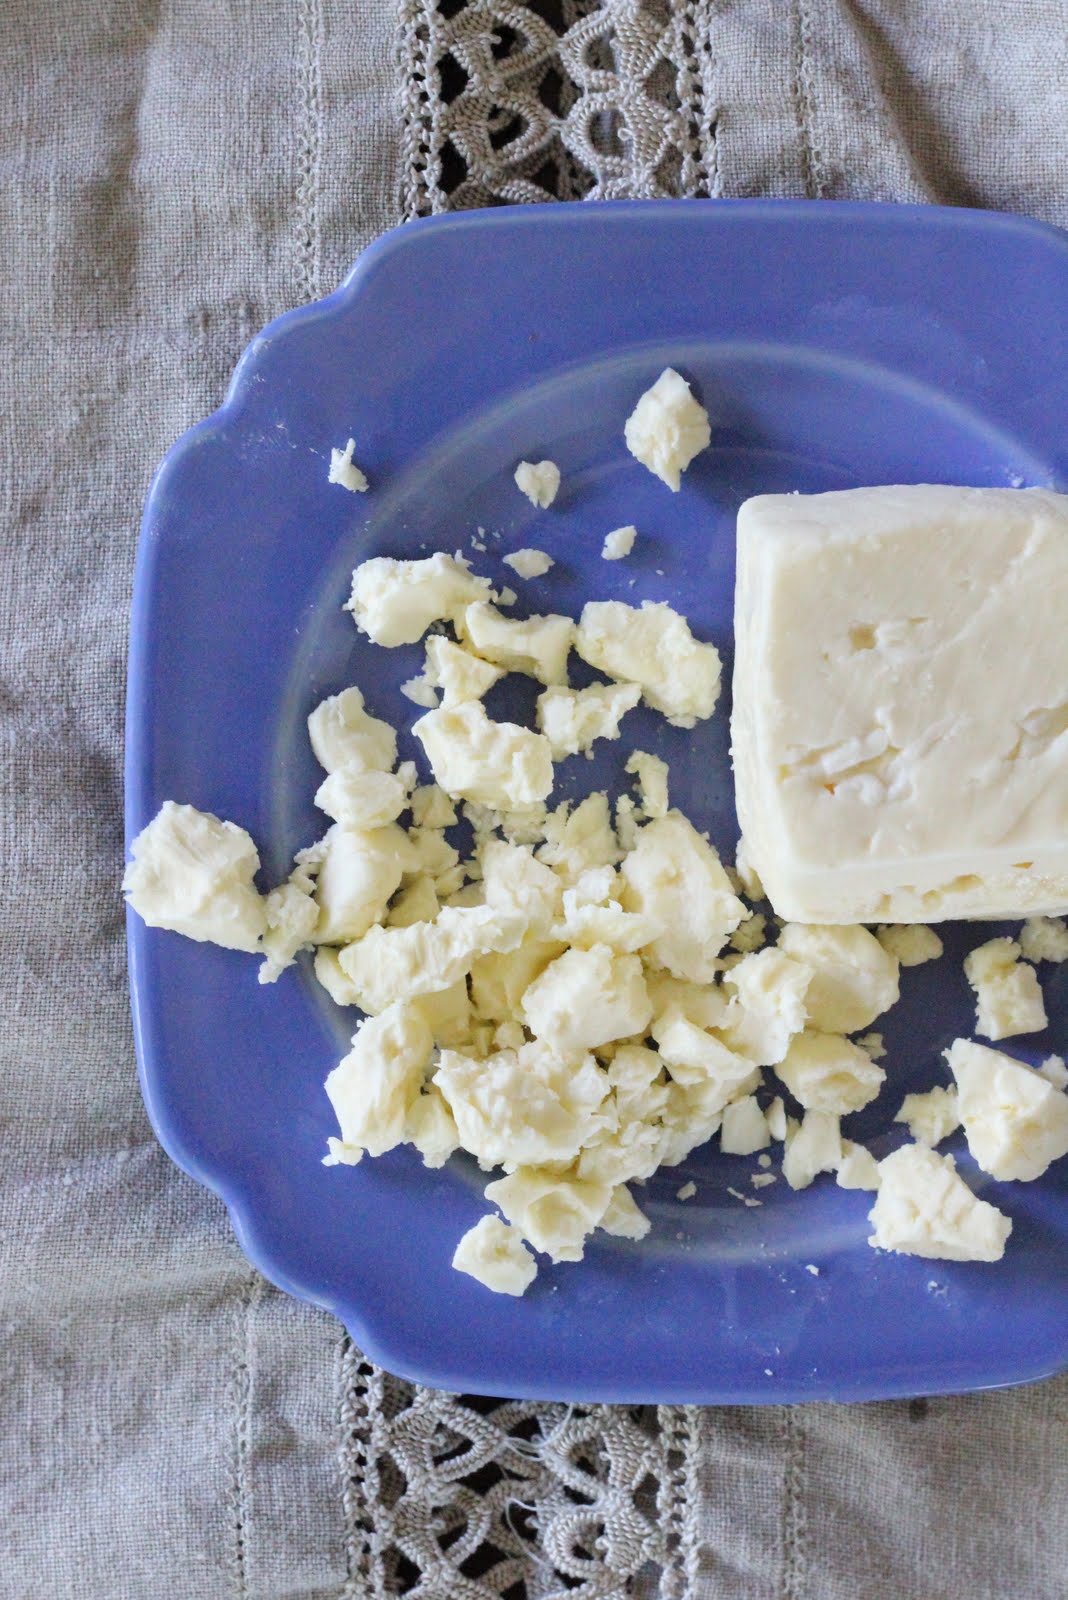
A while ago now, I made feta cheese for the first time.  Since the pickle jar that held 3 pounds worth of feta in fistful-sized blocks is now looking too empty for my liking, it's safe to call it a success, and on my docket for next week is making another 3 pounds (because, really, can one have too much feta in their refrigerator?). 

I've loved feta cheese from the first time I tasted it in my twenties, but its price puts it in the splurge category around these parts.  No longer!  Depending on the price of milk, I can make three pounds of feta for under 7 dollars, which makes it economical enough to eat plain, and I gleefully do.  Feta on pasta, feta on salad, feta in omelets, feta on cereal...okay, maybe not on cereal....depending on the cereal.


I need to create a label category for these posts in which I simply direct you to someone else's recipe, but, for now, I'll put it in "only cheese," because it is only cheese, after all.

Notes:
-I bought my mesophilic culture and lipase from here (the standard MM culture and the kid/lamb lipase).
-I bought the liquid rennet on Amazon.
-I used a bit more lipase that the recipe calls for, because I like my feta strong.
-Lastly, if I can make feta, YOU can make feta.  It was a simple matter of following directions, which has never been my strong suit, but is worth doing when a pickle jar full of feta is the result. Plus, I didn't even follow the directions very well; I severely overheated the milk, stirred the curds way too vigorously, etc.  It still worked!

Don't wait another minute.  Go Forth and Make Feta!


(Just keep your baby away from it.)


(Even if he looks at you like this, don't surrender.)


Thursday, July 09, 2015

Fresh Mozzarella


There are delicious things with horrendous prices that I've only eaten once or twice, and then only because John bought them.  (I married him for good reasons!)  Fresh mozzarella is one of those things, and he bought some to make this addictive side a long time ago.  There are delicious things in this world that should not have horrendous prices, and mozzarella is one of them.

Now you know why I'm so delighted to know how to make the stuff at home.  I made it for the first time last summer and then gushed about it on shotsnaps because it's all I could think about for a few days.  Mozzarella?  Yummy?  Cheap?  That I can make and eat ANYTIME I WANT?!?!?!  (Right now I have homemade feta ripening in the fridge, and you can bet I'll gush about that, too, if it doesn't poison us a few weeks from now when it's ready.)

Like making bread or yogurt or cold-process soap for the first time, making mozzarella can be intimidating.  Like those things, it's really quite a simple process, however, with just a few steps, and once you taste success once, watch out, because you'll never look back. Trust me.  You're probably making something with ease right now that's loads harder to make than mozzarella.


I only took pictures the first time I made it, but it tastes heavenly every time.


My favorite way to eat it is layered with fresh basil and tomatoes from the garden, drizzled liberally with olive oil and balsamic vinegar and topped with a sprinkle of salt.  This picture is also from last summer, and I sit here waiting on the basil and tomatoes...


I don't want to put forth the effort to give a proper tutorial here when it's not something I made up on my own (but, really, if I had just invented making mozzarella, you can bet my gush would be incrementally more annoying, and I'd shout it from the rooftops), so here's the link to the youtube video I kind of followed to make it the first couple of times.  His method streamlines the process more than traditional mozzarella-making, which takes half the day, so following this method was an easy choice for me. 

Note: When I needed to heat the cheese a bit more during the stretching process, I just plopped it back in the hot water for a few seconds before resuming the stretching.

Monday, March 24, 2014

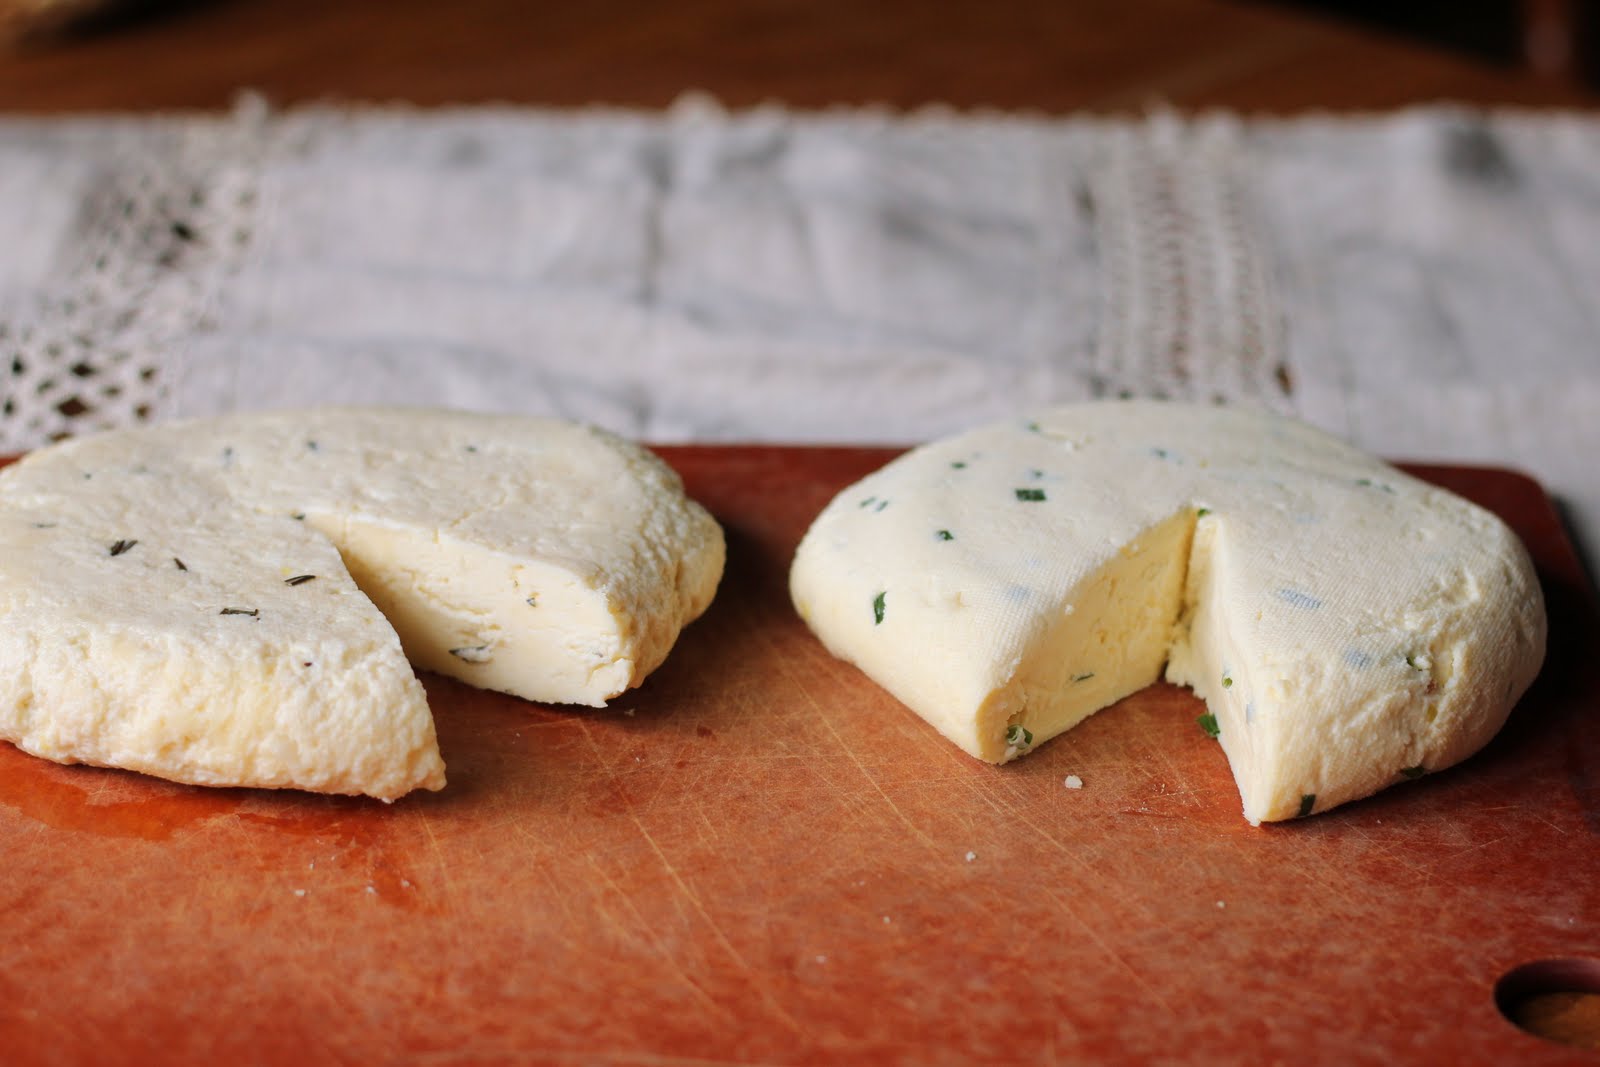
The Easiest Cheese Ever, Or, Farmer's Cheese (Or Paneer)


Seasoned or plain, this cheese is hard to beat for ease of preparation and delicious flavor.


I don't exaggerate when I say this cheese takes under ten minutes to make. Then you just let the whey drain, and you're set!  Because it takes too much dinero to buy raw milk, we just buy regular store milk.  As long as it's not ultra-pasteurized, it turns out fine.

$2.05 for one gallon of regular, pasteurized milk + ten minutes = one pound of cheese and a giant bowl of whey to use for baking, to add to shakes, soups, or sauces, or for feeding your chickens.
Not too shabby, huh?

Here's what you need:

-one gallon whole milk
-1/2 cup white vinegar (to make traditional paneer for Indian cuisine, substitute lemon juice for the vinegar)
-salt and/or seasonings
-a large, heavy-bottomed pot
-a colander
-a double layer of cheesecloth

Not necessary but fun to have
-a cheese press, the Real Deal or a makeshift one (to see my makeshift press, see below)
-helper elves to squeeze out whey faster (ditto)

Pour milk into pot and bring milk to a gentle boil over medium heat, stirring frequently.  Turn off heat and add the vinegar (or lemon juice) to pot while stirring constantly.  Within a short time, you should see the curds begin to solidify near the top of the pot, leaving the greenish-yellowish whey behind.  Once they've all separated, remove pot from the burner and carefully pour into a colander lined with your double layer of cheesecloth and resting over a large bowl to catch the whey.   At this point, you can add salt or seasonings, as desired-- for farmer's cheese, we add one tablespoon salt--, mixing them gently into the hot curds.  Note!  If you don't want your large bowl of whey to become flavored with seasonings or salt, then transfer the cheesecloth to another bowl before adding seasonings and squeezing out the rest of the whey.

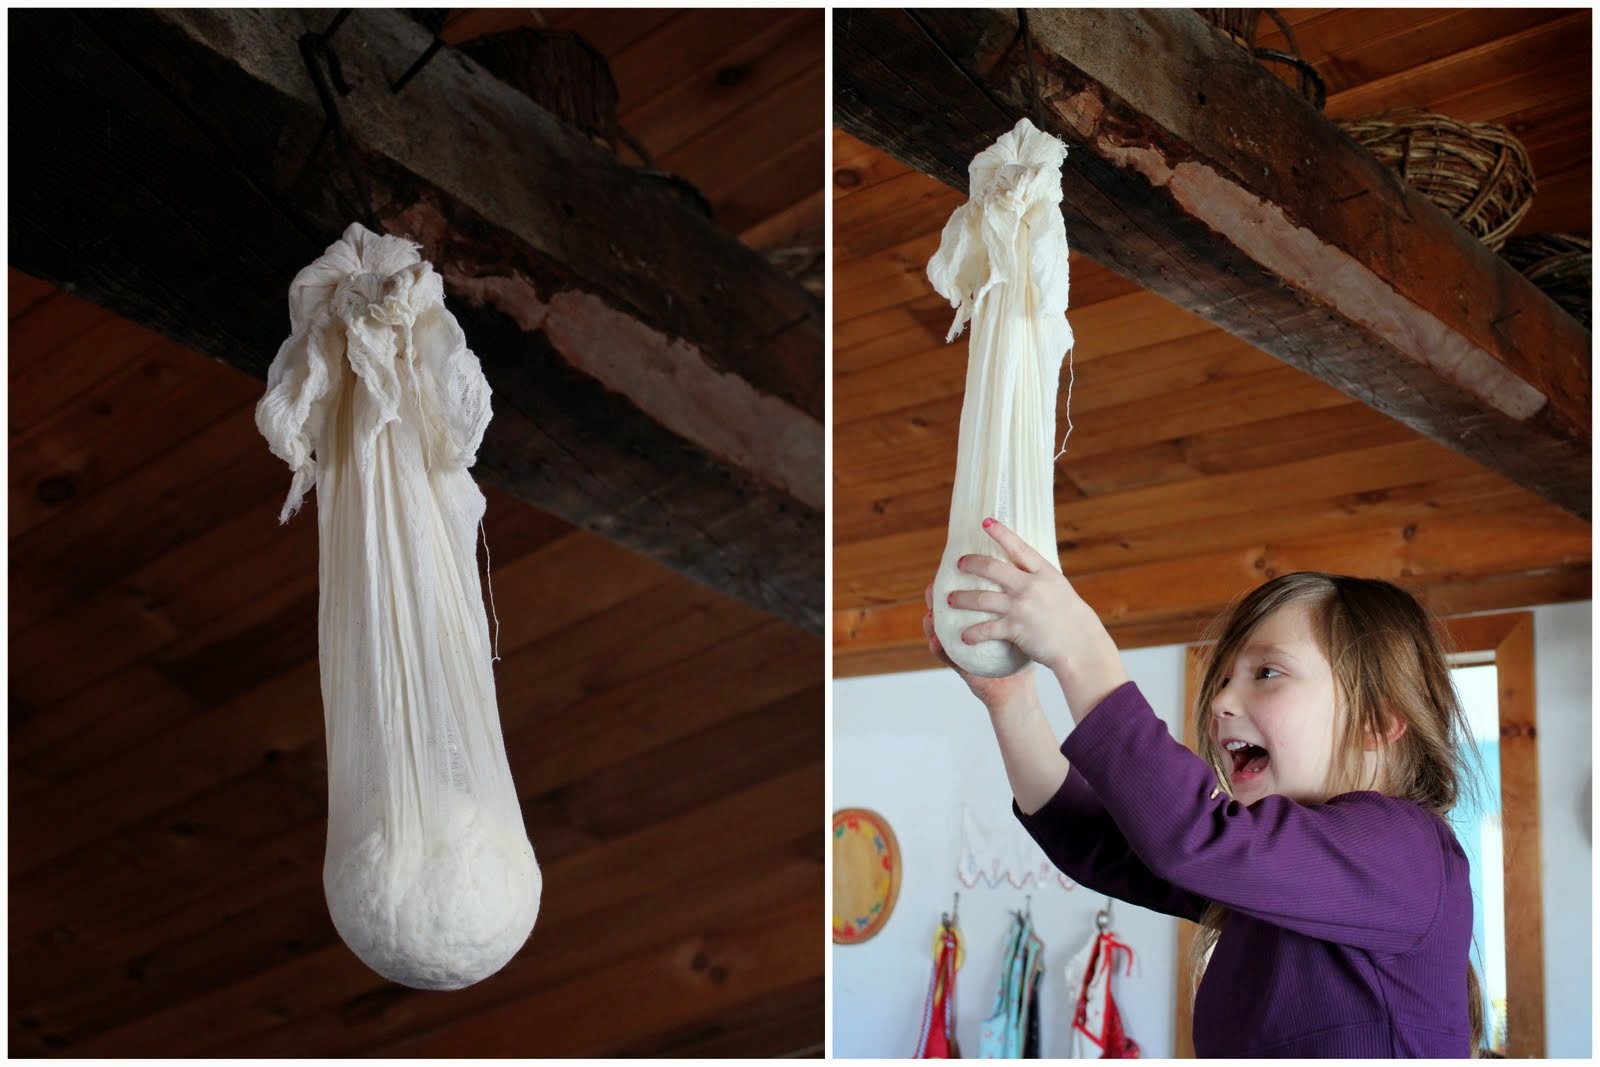
Once your seasonings are mixed in, lift the cheesecloth and twist it around the ball of cheese, squeezing to remove excess whey.  Then tie it on something high (a kitchen beam, a wooden spoon you slide into your upper cupboard's handles, the sink faucet, etc.) to drain out additional whey for about five minutes.  If you stop here, you'll end with a delicious, mild, crumbly cheese for salads, munching, curries, etc.


For a firmer, slicing cheese, squeeze out the whey as shown and then take the cheesecloth filled with still hot curds and place in a cheese press.  Don't have a cheese press?  No problem.  Just place it on a plate with the excess cheesecloth on the side to ensure a smooth top to your cheese.  Place a second plate on top of the cheese and weigh down the top plate with enough Heavy Stuff to press out the last of the whey and compress the cheese curds into a solid disc.  Refrigerate until firm and then gobble whenever you feel the urge.

Notes: If you make paneer using the lemon juice, you can gently rinse the curds with water after you drain them into the colander in order to remove some of the lemon flavor, if you want to take the extra step.

My current cheese press was given to me by Mrs. Terry and is showcased below.  A large coffee can with nail holes punched along the bottom edge works well.  Place the cheese inside, top it with a small saucer, and weigh down the saucer with Heavy Stuff.  Voila!  Slicing cheese!