Thursday, July 09, 2015

Fresh Mozzarella


There are delicious things with horrendous prices that I've only eaten once or twice, and then only because John bought them.  (I married him for good reasons!)  Fresh mozzarella is one of those things, and he bought some to make this addictive side a long time ago.  There are delicious things in this world that should not have horrendous prices, and mozzarella is one of them.

Now you know why I'm so delighted to know how to make the stuff at home.  I made it for the first time last summer and then gushed about it on shotsnaps because it's all I could think about for a few days.  Mozzarella?  Yummy?  Cheap?  That I can make and eat ANYTIME I WANT?!?!?!  (Right now I have homemade feta ripening in the fridge, and you can bet I'll gush about that, too, if it doesn't poison us a few weeks from now when it's ready.)

Like making bread or yogurt or cold-process soap for the first time, making mozzarella can be intimidating.  Like those things, it's really quite a simple process, however, with just a few steps, and once you taste success once, watch out, because you'll never look back. Trust me.  You're probably making something with ease right now that's loads harder to make than mozzarella.


I only took pictures the first time I made it, but it tastes heavenly every time.


My favorite way to eat it is layered with fresh basil and tomatoes from the garden, drizzled liberally with olive oil and balsamic vinegar and topped with a sprinkle of salt.  This picture is also from last summer, and I sit here waiting on the basil and tomatoes...


I don't want to put forth the effort to give a proper tutorial here when it's not something I made up on my own (but, really, if I had just invented making mozzarella, you can bet my gush would be incrementally more annoying, and I'd shout it from the rooftops), so here's the link to the youtube video I kind of followed to make it the first couple of times.  His method streamlines the process more than traditional mozzarella-making, which takes half the day, so following this method was an easy choice for me. 

Note: When I needed to heat the cheese a bit more during the stretching process, I just plopped it back in the hot water for a few seconds before resuming the stretching.

Savory Strata (With Anything You Want, Really)


Three-Pig and Cheese Strata = Ham, sausage, BACON, cheese  

Stratas are reserved for special breakfasts around here-- birthday or company-- but they are marvelously adaptable to one's tastes or pantry, so when there are peppers or broccoli or spinach in the garden or the fridge, we throw them in, too!  They're good without meat, as well, but for a birthday breakfast, we always include the savory stuff.

I love stratas not only because they're adaptable and delicious but also because they're supposed to be prepared the night before, which makes for an easy breakfast the next morning, but they also taste delicious cooked right after preparing, which makes a procrastinating Abigail happy.  (For reference, I've included the following picture that I took the morning of Annika's birthday.)


Anything You Want Strata


1 lb. crusty bread, cut in one-inch cubes or thereabouts
1 lb. sausage
1 lb. ham
1/2 lb. bacon
1 large onion, diced and sauteed in a bit of butter until slightly soft
12 eggs
3 1/2 cups milk (I've read of cooks using some cream here, too.  Proceed at your own risk.)
8 oz. sharp cheddar cheese (more if you want a bellyache)
(Other add-ins:
peppers, all the colors!
mushrooms
broccoli
spinach
etc., all sauteed in a bit of butter until slightly soft but not cooked..except the spinach.  Just tear that in pieces and add it without sauteeing)
1 tsp. or thereabouts salt
1 tsp. or thereabouts pepper
 3-5 cloves minced garlic added to the onion pan right at the end and sauteed for only a minute or so (or some shakes of garlic powder, if you wish)
2 tsp. dry mustard powder or a couple tbsp. prepared mustard, or more, to taste

To make a VERY full 13x9 pan, in ten easy-peasy steps.

1. Grease the pan
2. Cook the meat.
3. Dice/crumble the meat.
4. In a big bowl, stir all the stuff, except the liquids, together (meats, veggies, salt, pepper, bread cubes)
5. Layer bread and other stuff in the greased pan.
6. Whisk milk, eggs, and mustard powder/prepared mustard together until smooth and pour over bread and other stuff
7.  Smush down with a spoon until no dry bread remains.
8.  Leave in fridge overnight (or bake immediately)
9.  Bake at 350 degrees for one hour or until inserted knife comes out clean
10.  Gobble, gobble, gobble.

Easter (or other) Challah Bread


 (Pictures taken hastily before Dad prayed over our Easter feast last year.)


Source: This challah bread is a mash-up of recipes from here and here.

There's something about braiding bread that lifts it to a new level, and since I only seem to braid bread for fancy occasions, it's always special.  Challah is a soft white bread, made rich with egg and lightly sweet, and any leftover slices make killer French toast.


Best Challah (Egg Bread)
(Slightly adapted from Smitten Kitchen who adapted it from Joan Nathan)

Time: about 1 hour, plus 2 1/2 hours’ rising
Yield: 2 loaves
4 teaspoons active dry yeast
1 tablespoon granulated sugar
1 3/4 cups lukewarm water
1/2 cup vegetable oil or butter, plus more for greasing the bowl
5 large eggs
1/2 cup granulated sugar
4 tsp. salt
8 to 9 cups all-purpose flour

Optional:
1/2 cup raisins per challah, if using, plumped in hot water and drained
Poppy or sesame seeds for sprinkling.


1. In a large bowl, dissolve yeast and 1 tablespoon sugar in water; set aside for 5 minutes until a bit foamy.
2. Whisk oil or melted butter into yeast, then beat in 4 eggs, one at a time, with remaining 1/2 cup sugar and salt. Gradually add flour. When dough holds together, it is ready for kneading. (You can also use a mixer with a dough hook for both mixing and kneading, but be careful if using a standard size KitchenAid–it’s a bit much for it, though it can be done.)
3. Turn dough onto a floured surface and knead until smooth. Clean out bowl and grease it, then return dough to bowl. Cover with plastic wrap, and let rise in a warm place for 1 hour, until almost doubled in size. Dough may also rise in an oven that has been warmed to 150 degrees then turned off. Punch down dough, cover, and let rise again in a warm place for another half-hour.
4. At this point, you can knead the raisins into the challah, if you’re using them, before forming the loaves. To make a 6-braid challah, either straight or circular, take half the dough and form it into 6 balls. BEFORE READING THIS:  If you're a visual learner, instead, go here.
With your hands, roll each ball into a strand about 12 inches long and 1 1/2 inches wide. Place the 6 in a row, parallel to one another. Pinch the tops of the strands together. Move the outside right strand over 2 strands. Then take the second strand from the left and move it to the far right. Take the outside left strand and move it over 2. Move second strand from the right over to the far left. Start over with the outside right strand. Continue this until all strands are braided. For a straight loaf, tuck ends underneath. For a circular loaf, twist into a circle, pinching ends together. Make a second loaf the same way. Place braided loaves on a greased cookie sheet with at least 2 inches in between.
5. Beat remaining egg and brush it on loaves. Either freeze breads or let rise another hour.
6. If baking immediately, preheat oven to 375 degrees and brush loaves again. Sprinkle bread with seeds, if using. If freezing, remove from freezer 5 hours before baking.
7. Bake in middle of oven for 30 to 40 minutes, or until golden. (If you have an instant read thermometer, you can take it out when it hits an internal temperature of 190 degrees.) Cool loaves on a rack.
Note: Any of the three risings can be done in the fridge for a few hours, for more deeply-developed flavor. When you’re ready to work with it again, bring it back to room temperature before moving onto the next step.


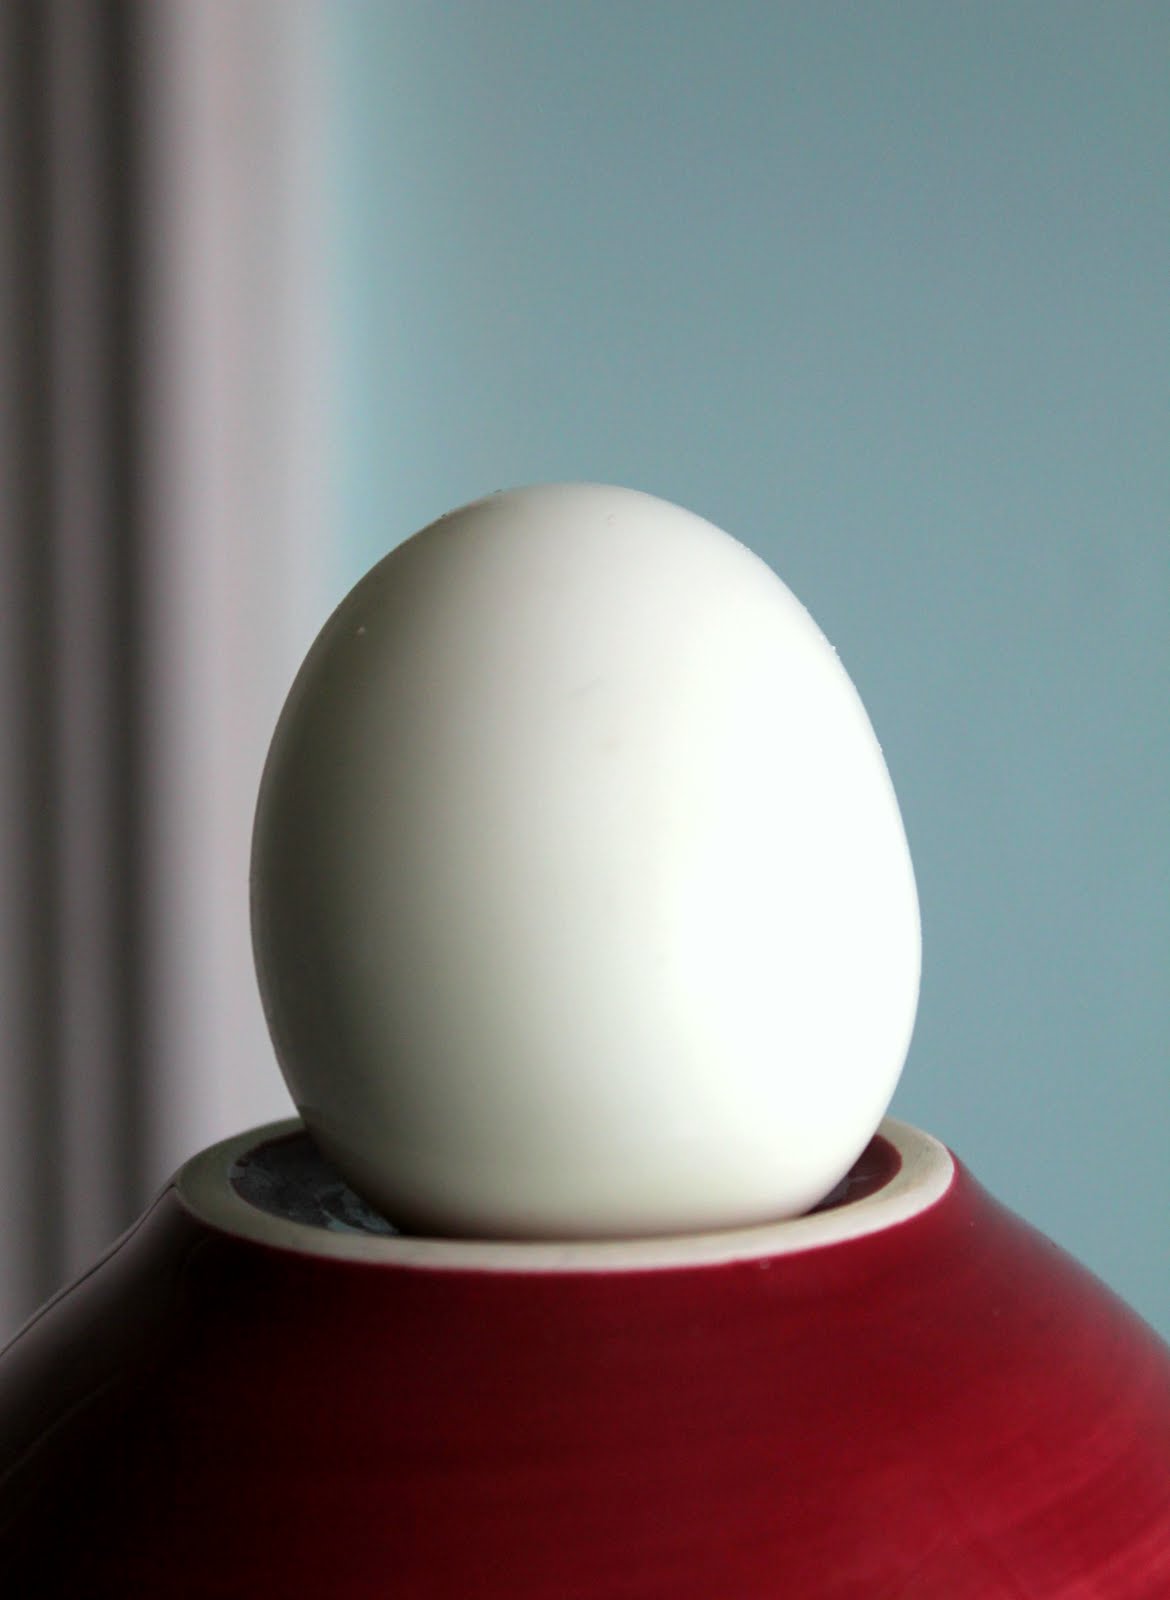
What a Trick! (How to Hardboil Fresh Farm Eggs)


If this is common knowledge, feel free to make fun of me right now, but I never knew it until recently.  We always call our hard-boiled eggs that are pocked with crevices "monster eggs" so we can pawn them off on Zeke and Aidan.  No longer!

It's so easy to smoothly peel fresh farm eggs!  Instead of placing your eggs in cold water, like one should do for store-bought eggs, simply bring a pot of water to boiling and then gently lower your room-temperature fresh eggs into the boiling water.  Boil for about 13 minutes (or however long you prefer to boil your eggs) and then remove from the water.  Proceed as usual.  Peel those eggs and marvel at them.  How smooth!  How white!


 This is something farmwives would definitely laugh at me about, because the only reason to put cold water in the pot is to prevent cold eggs from the refrigerator from changing temperature too rapidly and splitting, and, of course, farm eggs can sit on the countertop for a while.

This post is for those of you who, like me, never had this light-bulb moment.

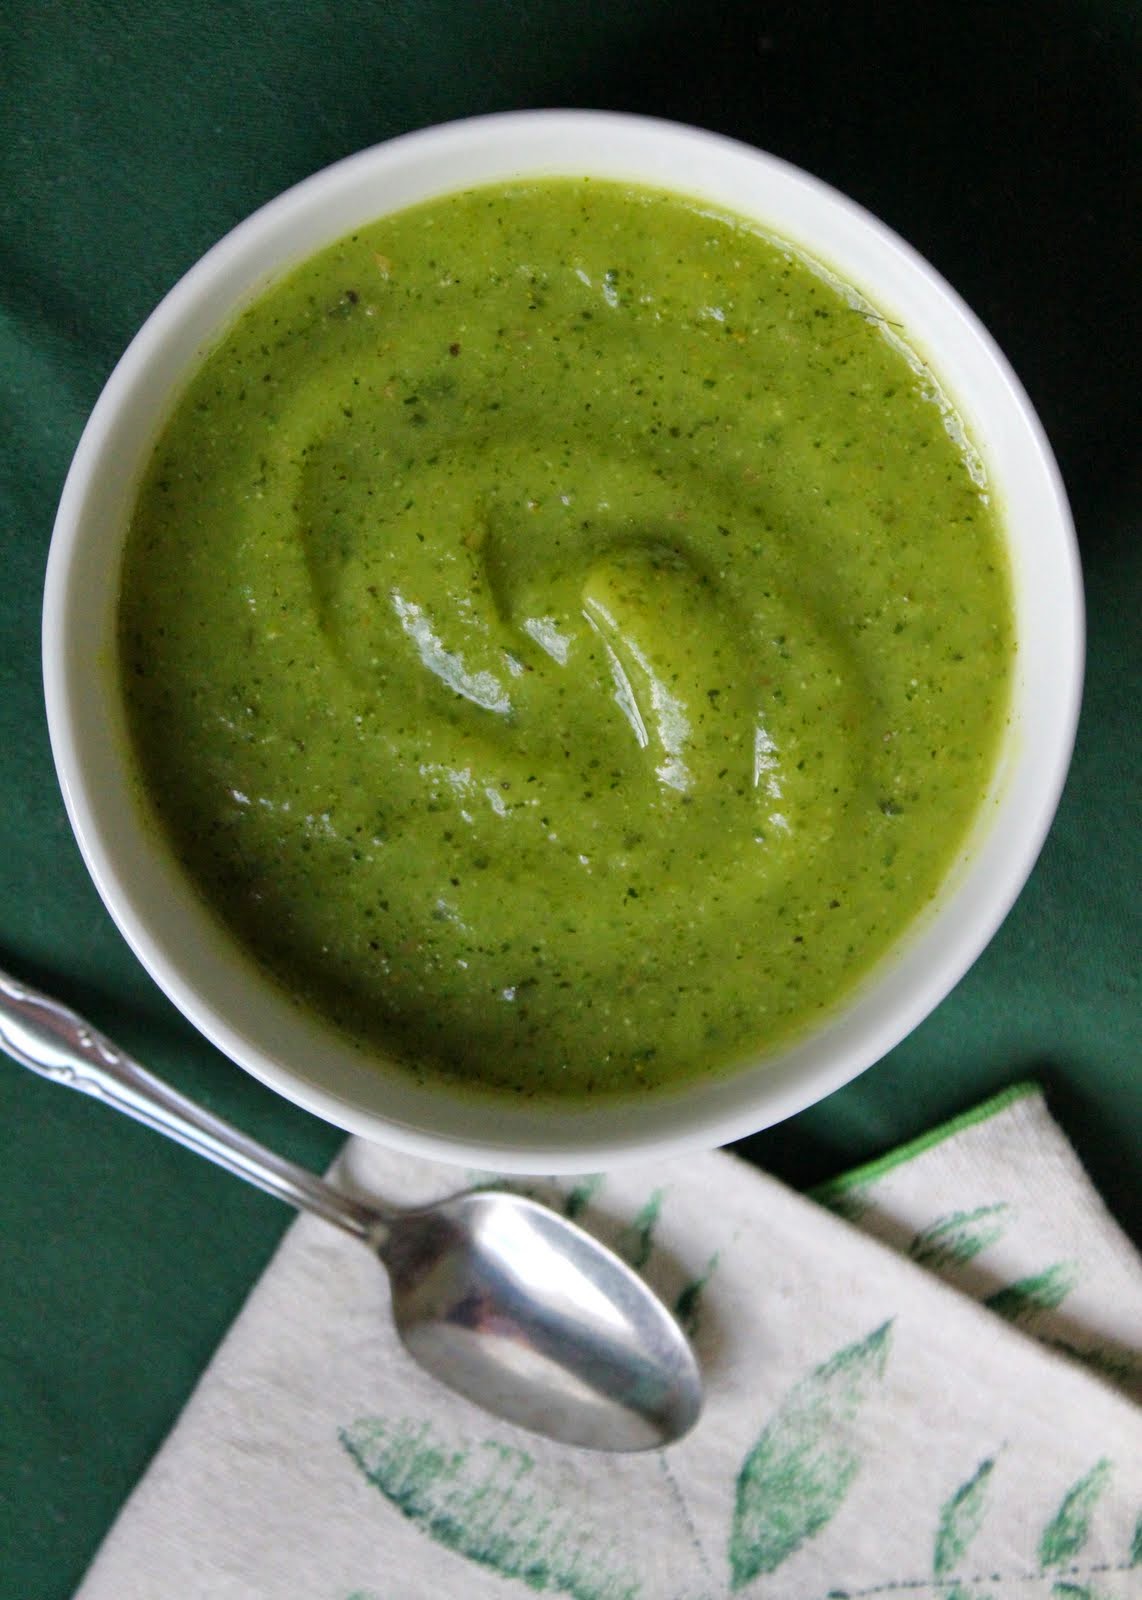
Curried Zucchini Soup


This recipe is most useful in mid-August through September, when one's intelligence is measured by how many ingenious ways one can use up the eternal zucchini harvest.  The children and I ate this nearly every day for lunch for a week straight last summer, and I didn't hear complaints until the end of the week, so that's something.  If one's family eats that much zucchini soup in one week, then the recipe's worth keeping.

It's best to eat it while shouting this poem all together.   Trust me.


*Notes: 

1.  After making it the first time, I just added ingredients, to taste, and threw in a ton more zucchini and chicken stock.  You do the same.  Also, I've never once chilled it before we eat it for lunch, but leftovers are even better the next day after the flavors have settled into the whole soup.

2.  I sometimes add diced potatoes to this, too, and blend them in with the zucchini, before adjusting the spices to suit.  

Curried Zucchini Soup (source: Emeril Lagasse, my best buddy)

4-6 servings

Ingredients:

1 tablespoon vegetable oil 
1 cup chopped yellow onions 
1 teaspoon minced garlic 
2 teaspoons curry powder 
1/2 teaspoon salt 
Pinch cayenne 
2 pounds zucchini, trimmed and chopped 
3 1/2 cups vegetable or chicken stock (we use chicken)
1/2 cup heavy cream (we probably just used milk)
Chopped cilantro, garnish, if desired

Directions:

In a medium pot, heat the oil over medium-high heat. Add the onions and garlic and cook, stirring, until soft, about 3 minutes. Add the curry powder, salt, and cayenne, stir, and cook until fragrant, about 30 seconds. Add the zucchini, reduce to medium heat, and cook, stirring occasionally, until soft, 5 to 6 minutes. Add the stock and bring to a boil. Reduce the heat and simmer until the zucchini is very tender, about 20 minutes. 

Remove from the heat. With a hand-held immersion blender, or in batches in a food processor, puree the soup. Return to medium heat and stir in the cream. Simmer for 3 minutes. Adjust the seasoning, to taste. 

Pour into a clean container and let cool slightly. Refrigerate until well chilled, 4 to 6 hours. 

To serve, ladle into large cups, garnish with cilantro, and serve with pita toast. This soup may be served hot or cold.

Swedish Pancakes


The Johnson family has eaten these for as long as I can remember, and I've posted this recipe before under blueberry-filled crepes. Here it is as a stand-alone.  We eat these like regular pancakes, drizzled with maple syrup, and we also make "jam roll-ups" by (you guessed it) spreading homemade jam over the whole thing and then rolling it up.  It magically becomes finger food when you do this, plus it's delicious.

On my parents' first official date, the one in which he proposed marriage and she accepted, my mom, a bit hesitant, had my dad order her food.  He ordered himself a savory portion of steak and then, thinking that so lovely and petite a creature as my mother surely subsisted on stardust and dew alone, he ordered her strawberry roll-ups-- essentially, jam-filled crepes.  Little did he know that poor, church-mouse Mopsy had been living on peanut butter and jelly sandwiches, and the last thing she'd find appealing were jam-filled crepes.  She choked them down with the aroma of juicy steak wafting across the table, and she married that handsome, well-meaning steak-eater several months later. From then on, if crepes were on the menu, she ordered her own food.

Anyway, the girls re-tell that story just about ever time we eat these for breakfast.  Without further ado, from the Johnson Family Archives, I give you their famous recipe for "Swedish Pancakes," which are similar to French crepes.  You can use a bonafide "Swedish Pancake" pan for these, but we didn't know they existed and always just used a frying pan.

Swedish Pancakes

3 eggs
1 and 1/4 cups milk
3/4 cup flour
1 tbsp. sugar
1/2 tsp. salt
vanilla extract, if desired

In a small bowl, whisk together the eggs and milk (and vanilla, if desired) until well-combined.  In a large bowl, sift together dry ingredients, and then add to it the wet ingredients, whisking until smooth.

Into the center of a hot, lightly greased frying pan, pour 1/4 cup pancake batter.  Lift and tilt pan to evenly coat bottom. Cook until top appears dry; turn and cook 15-20 seconds longer.

* You can add more milk if you want thinner pancakes.

I've never paid attention to the yield, but these pancakes are light and thin, and one's seven eight nine children can eat a lot for breakfast.  I usually make a triple quadruple quintuple batch to stuff the children, with me nibbling a couple on the sly, and it's just about the perfect amount.

Chunky Zucchini Relish


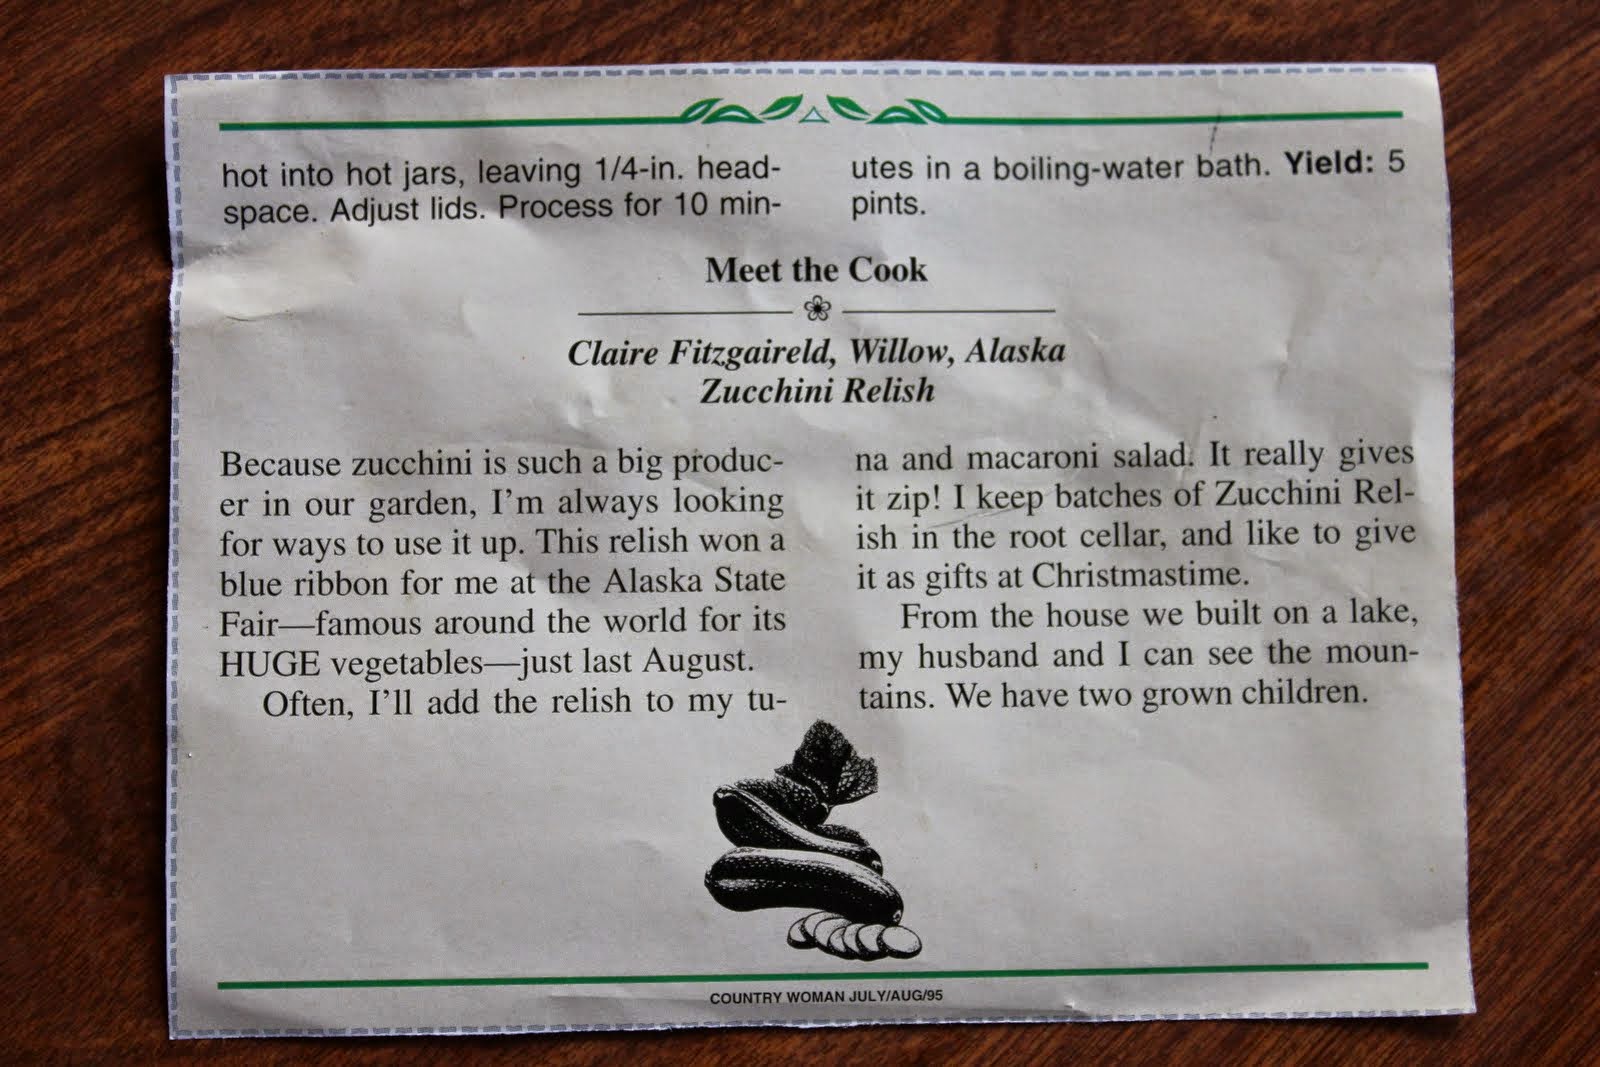
This chunky zucchini relish is SO good and much prettier when you add red peppers, per the recipe. I usually prefer dill relishes to sweet relishes, but I can eat this from the spoon, anyway.  The reason that this stands out from other relishes is that the zucchini stays firm and crunchy due to the preparation and processing method.


You'll notice that the relish won a BLUE RIBBON AT THE ALASKA STATE FAIR.  Yes, indeed.  I'll be quiet now and just let that speak for itself.


Here's the recipe.

Chunky Zucchini Relish

yield: 5 pints

-  10 cups chopped, unpeeled zucchini (about 7 medium)
-  4 cups chopped onion (about 4 large)
-  1 large, sweet red pepper, chopped (or if you're lame like me and have none, just use a green one from the garden, but it won't look as nice)
-  1 can (4 oz.) chopped green chiles (I didn't have any of these, either.  If you're lame like me, just add a bit of diced hot pepper, ground cayenne, or red pepper flakes for a touch of heat, to taste.)
-  3 tbsp. canning salt
-  3 and 1/2 cups sugar
-   3 cups vinegar
-  1 tbsp. ground turmeric
-  4 tsp. celery seeds
-  1 tsp. black pepper
-  1/2 tsp. ground nutmeg

In a large container, combine zucchini, onion, pepper, chiles, and salt.  Stir well to combine and chill overnight.  (This removes moisture from the zucchini, helping the crunch!)  Rinse thoroughly in cold water and drain. (This removes excess salt, helping the taste!) In a large kettle, combine remaining ingredients and bring to a boil.  Add zucchini mixture and simmer for 10 minutes.  Ladle hot into hot jars, leaving 1/4 inch head space.  Adjust lids.  Process in a boiling-water bath for 10 minutes and let cool before storing..

Sweet and Smoky Salsa with Corn, Black Beans, and Zucchini


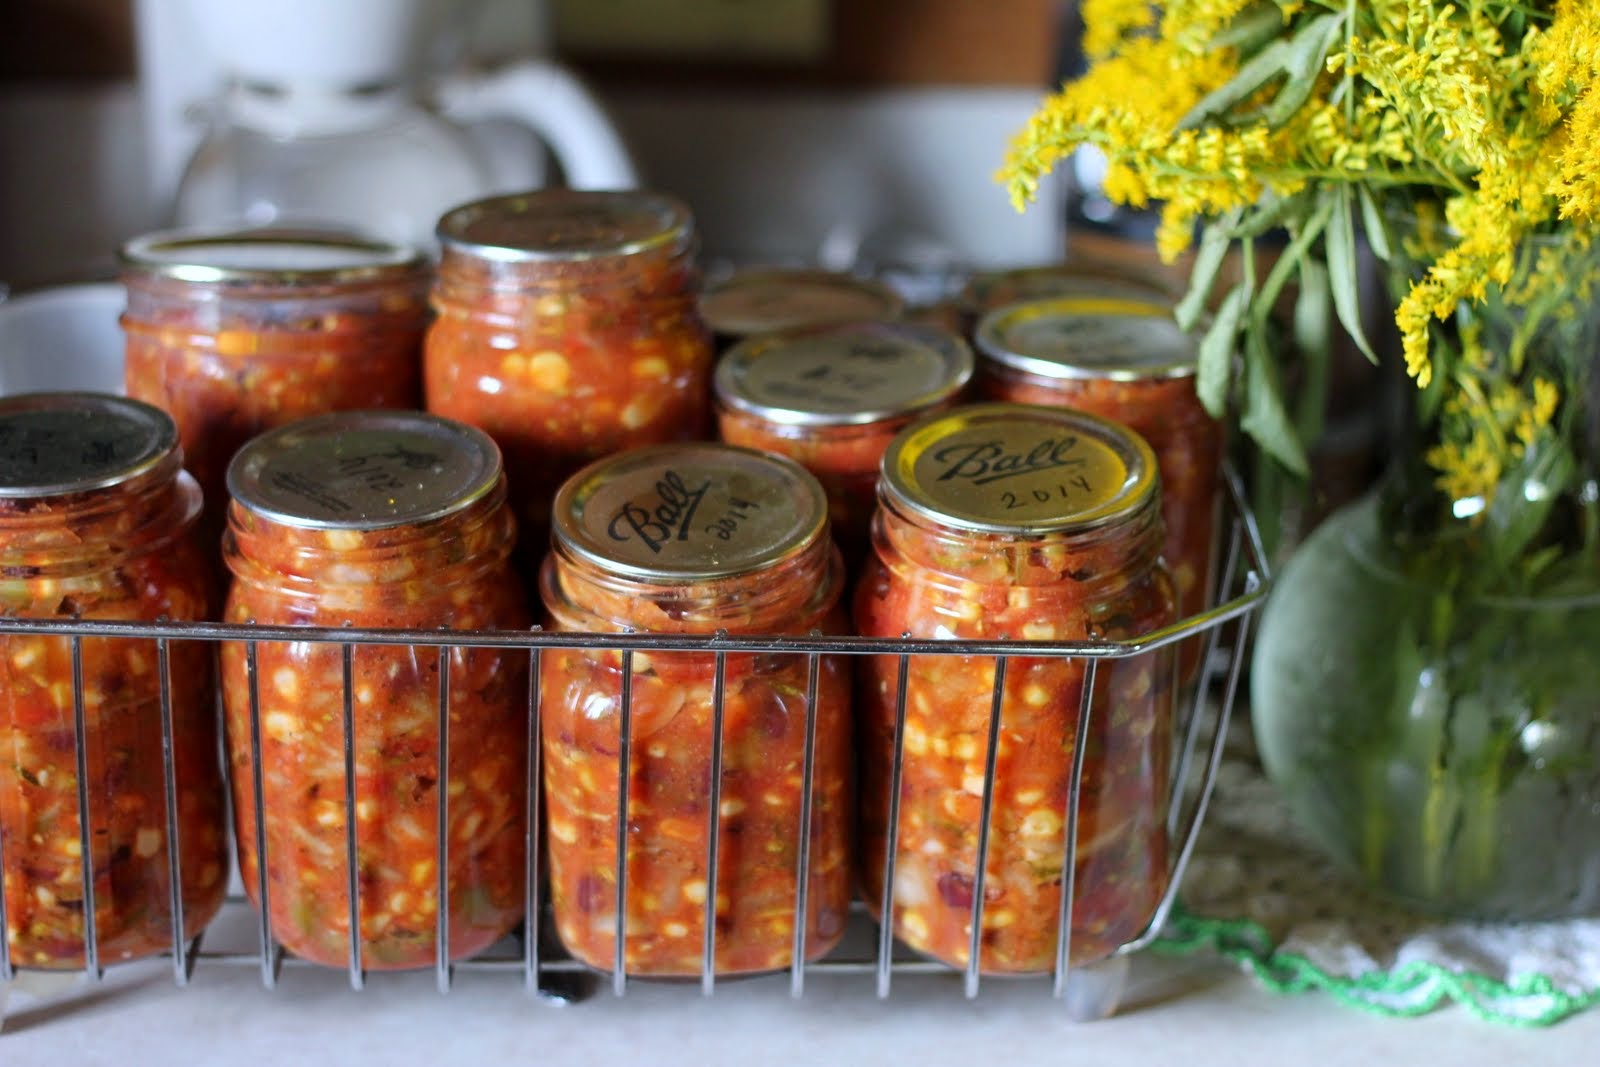
I only have this one picture of the salsa, so it'll have to do for now.  As its name implies,  this is a sweet and smoky salsa, not overly spicy.  Next time I make it, I'll add more heat, but even as is, it's one of the most delicious salsas I've ever made.  A big bonus is that it's full of ZUCCHINI!  Any of you gardeners know that this is a good thing, especially in those days of laundry baskets overflowing with zucchini and neighbors who politely decline yet another baseball-sized zucchini bat.

To be safe, I pressure can this because of the low-acid corn and black beans, even though the original recipe only calls for a water bath.   I wouldn't recommend canning this without a pressure canner, but it would taste good fresh, too!  Since black beans need 10 pounds of pressure for 1 hour and 15 minutes, when canned in pint jars, I can this salsa accordingly.  The texture is softer than traditional, water-bathed salsa, due to using zucchini in addition to the tomato, but mostly due to the pressure canning method.  If you only like firm, chunky tomato salsa, there's your warning! :)


Sweet and Smoky Salsa with Corn, Black Beans, and Zucchini


10 cups shredded zucchini
4 onions, chopped
2 green peppers
2 red peppers
1/4 cup canning (pickling) salt

Mix and let stand for 3 hours.  Drain well.
_____________________________________

2 cups white vinegar
1 tbsp. cumin
2 tbsp. garlic powder
2 tbsp. dry mustard
1 tbsp. canning salt
1 cup brown sugar
2 tbsp. red pepper flakes
1 tsp. black pepper
1 tsp. nutmeg

Combine in a large pot and bring to a boil.
_____________________________________

5 cups chopped and peeled tomatoes (I used quite a bit more)
2 tbsp. corn starch (mix with some of the tomato juice until smooth)
2 cans of tomato paste
2 cans (or more) black beans, rinsed and drained
Corn, stripped from cob (I used more than 5 cobs' worth)
Chopped, fresh cilantro, to taste
*Next time I make this, I'll also add some minced hot pepper or more red pepper flakes, to taste, because I want a bit more heat.  Add to your tastes.

Add all the vegetables and cilantro to syrup and heat gradually until hot. Pour hot into hot pint jars.  Adjust lids. Process in pressure canner for 1 hour and 15 minutes at ten pounds pressure.

Spiced Pickled Beets


I wouldn't have touched pickled beets with a ten-foot pole when I was young, but I love them now.  This is one proof among many that I'm an old lady.  If you like beets, you should try these!  Even if you don't like beets, perhaps you should try these... :)

Side note: I recently learned from an expatriate friend and her Kiwi companion that in New Zealand, burgers are traditionally served with a fried egg and pickled beetroot on top.  Yup.  A fried egg and pickled beets.  (And now I'm curious to try it myself.)

Spiced Pickled Beets

29 small beets 
2 1/2 cups apple cider vinegar
1 1/2 cups liquid leftover from cooking beets
2 - 2 1/2 cups sugar
2 sticks cinnamon
1 tbsp. whole cloves, bagged (or strained out later)

Scrub beets and trim tops.  Cook in boiling water for about 15 minutes or until tender.  If desired, place the cooked beets in ice water to cool more quickly before peeling off the skins and slicing the beets 1/4 " thick.    Heat remaining ingredients and stir until sugar dissolves and mixture boils.  Add the beets and simmer until beets are hot.  Remove the spice bag and cinnamon sticks.  Pack hot beets into clean pint jars to within 1/2 " of the top. Pour the hot liquid over beet slices, leaving 1/2 " headspace.  Adjust lids and process in a boiling water bath for 35 minutes. 

*I always at least double the pickling liquid mixture in order to have enough.  This is probably because my "small" beets are too large and fill more jars than the recipe intends.  I just pop any leftover in the fridge for future beets, and it also can be used as a base for pickled hardboiled eggs.

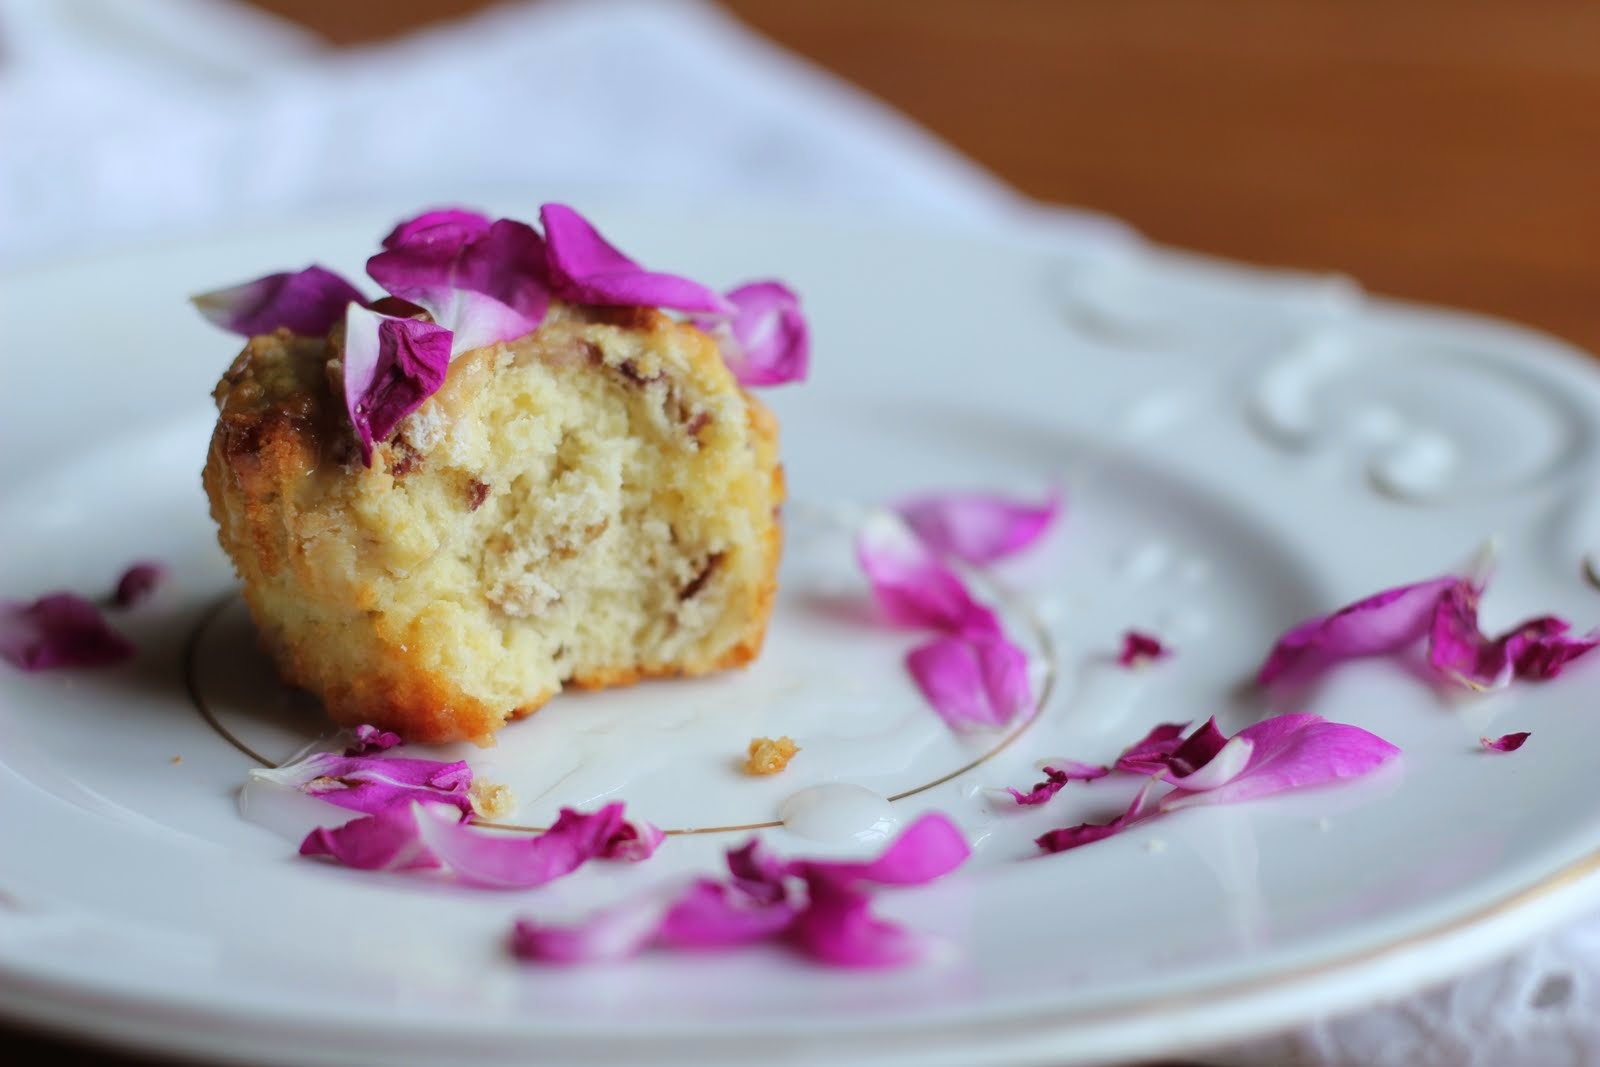
Rose Petal Muffins (Shout-out to Her Majesty the Queen)


Millie should have been born in the English countryside.  She's always been an old soul with old-fashioned sensibilities, and when she sees recipes in our British cookbook devoted to muffins, she gravitates toward those with rose petals and lavender buds.  Me?  Not so much.


I'm so glad to have her!  Without Mildred commandeering my kitchen, I would never have tasted these lightly sweet muffins, and they really are quite good.  If you don't like the taste of rosewater, simply omit it from the glaze and add flavoring more to your liking, instead (vanilla, lemon, etc.), because while the muffins themselves are not noticeably rose-flavored, the glaze certainly is.


The muffins pair wonderfully with a hardboiled egg and a spot of tea for breakfast, but their impressive presentation would make them perfect for Fancy Teas, as well.

Rose Petal Muffins (source: Muffins by Gemma Reece)

Makes 12

Oil for greasing muffin pan

1 and 1/2 cups flour
2 tsp. baking powder
pinch of salt
4 tbsp. butter
6 tbsp. superfine sugar (just whizz granulated sugar in a coffee grinder or blender or use regular)
1 large egg, beaten
1/2 cup milk
1 tsp. rose water
1 and 3/4 oz. edible rose petals, rinsed, patted dry, and lightly snipped (Millie just picks a few handfuls from here and adds them as she wishes)

Rose petal glaze
7/8 cup confectioners' sugar
1 tbsp. liquid glucose (Millie just uses a bit of milk until desired consistency is reached)
1 tbsp. rose water (or 1/2 tsp. of another extract)
1 and 3/4 oz. edible rose petals, rinsed and patted dry (see above)

Preheat oven to 400 degrees F.  Oil your muffin tin.  Sift the flour, baking powder, adn salt into a large mixing bowl.  

In a separate large bowl, cream together the butter and superfine sugar, then stir in the beaten egg, milk, rose water, and snipped rose petals.  Add the butter mixture to the flour mixture and then gently stir together until just combined.  Do not overstir the batter (lumpy batter is fine).  

Divide the muffin batter evenly between the 12 cups (fill cups about 2/3 full).  Transfer to the oven and bake for 20 minuter, or until risen and golden.

While the muffins are cooking, make the glaze.  Stir all ingredients together until smooth.

When muffins are cooked, remove from oven and place on cooling rack.  When cooled, drizzle glaze over tops of muffins and top with more rose petals before serving.

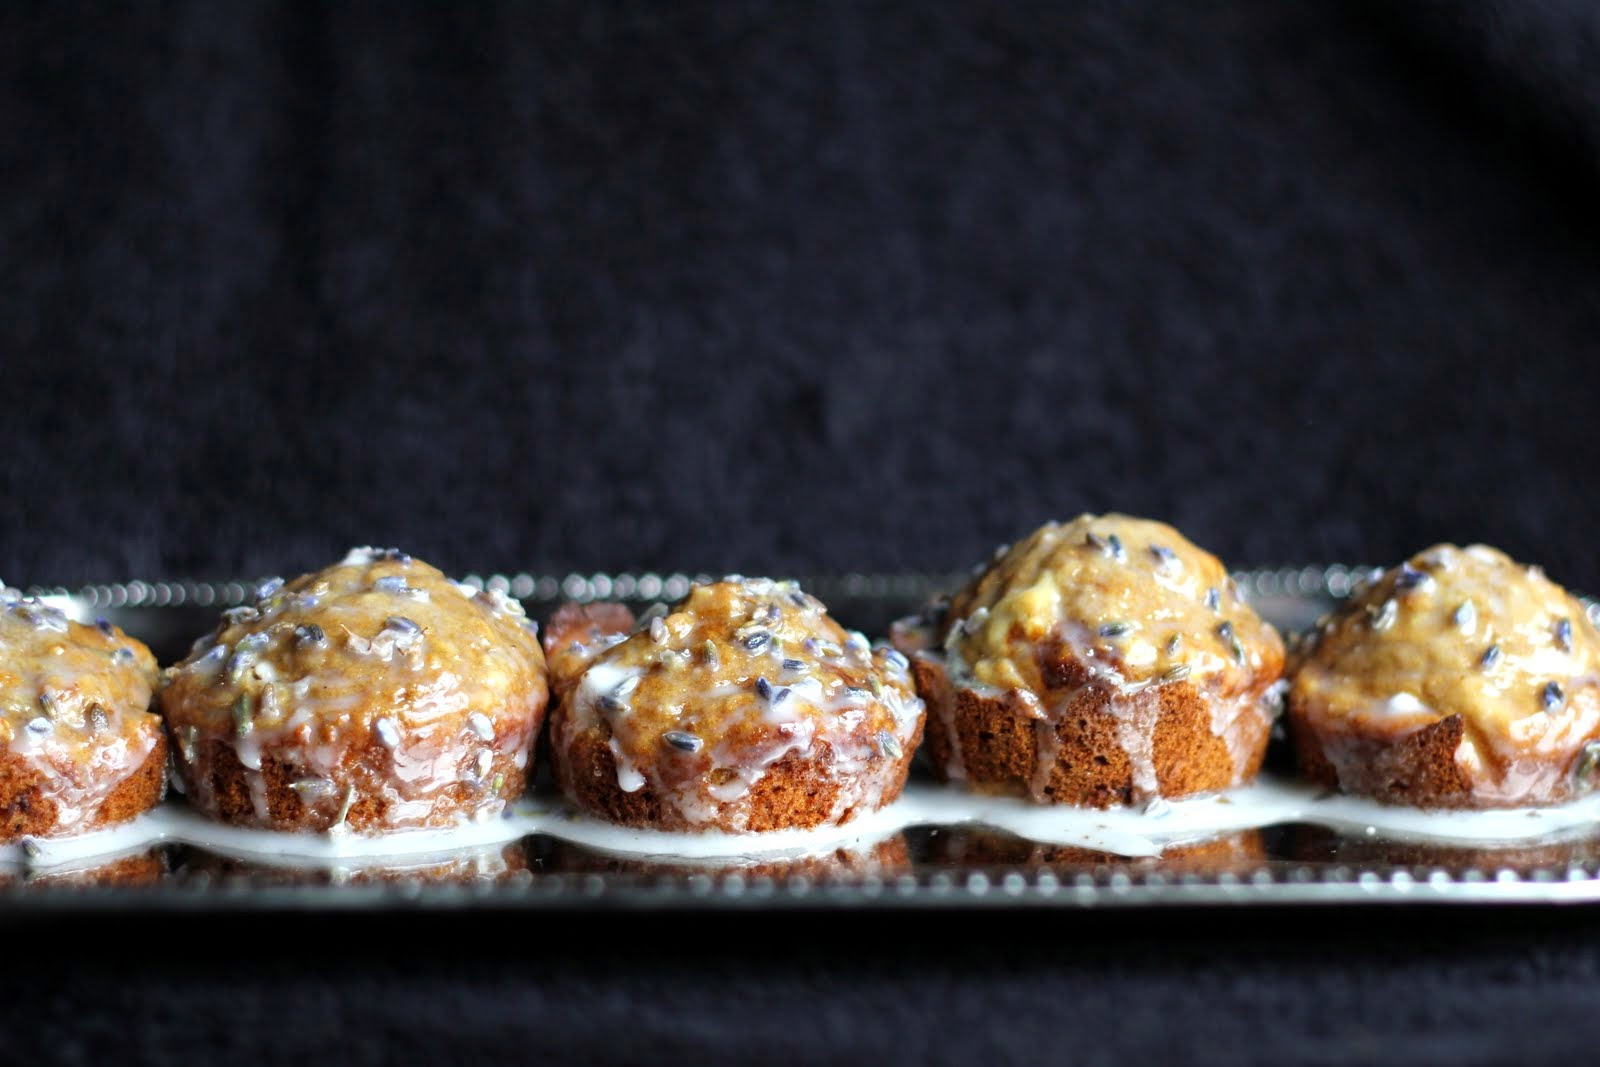
Frosted Lavender Muffins


I already explained Mildred's misplaced birth, so you've probably guessed that she's the genius behind these muffins.


Next time, she wouldn't add so many lavender buds to the glaze (she added more than the recipe called for), and she left the buds in instead of removing them, but these were excellent muffins. The flavor of lavender came through quite prominently in the glaze because Millie left the buds in, but I imagine the flavor would be much more delicate if the buds were removed before frosting the muffins.
Frosted Lavender Muffins

Makes 12

oil for greasing muffin tin

1 large apple, peeled, cored, and thinly sliced
3 tbsp. water
1 cup flour
1 tsp. baking powder
1 tsp. baking soda
pinch of salt
4 tbsp. butter
4 tbsp. superfine sugar (whizz granulated sugar in blender or coffee grinder or just use regular)
1 large egg, beaten
1/2 tsp. vanilla extract
1 tbsp. dried lavender flowers

Lavender Frosting

7/8 cup confectioner's sugar
1 tbsp. dried lavender flowers
1 tbsp. liquid glucose (Millie just used milk)
1-2 tbsp. milk

The day before you make the muffins (I think Millie just did it the same morning), prepare the frosting.  Place the sugar in a bowl and add the dried lavender flowers.  Cover and leave overnight until ready to use.  

When you are ready to make the muffins, place the sliced baking apple and water in a pan and bring to a boil.  reduce the heat, cover the pan, and let simmer for 15-20 minutes, stirring occasionally until the water has been absorbed.  Remove the heat and let cool .  Transfer to a food processor and process until smooth.

Preheat the oven to 400 degrees F.  Grease a muffin tin.  Sift the flour, baking powder, baking soda, and salt into a mixing bowl. 

In a separate large bowl, cream together the butter and superfine sugar, then stir in the beaten egg, vanilla extract, apple puree, and dried lavender flowers, stripped from their stalks.  Add the egg mixture to the flour mixture and the gently stir together until just combined.  Don't overstir the batter (lumpy batter is fine).

Divide the muffin batter evenly between the 12 cups in the muffin tin (fill cups about 2/3 full).  Transfer to the oven and bake for 20 minutes or until risen and golden.  

While the muffins are cooking, finish making the frosting.  Remove the plastic wrap from the confectioner's sugar/lavender mixture, then sift the mixture into a bowl and discard the lavender flowers (Millie left hers in).  Stir in the liquid glucose and enough milk to make the frosting easy to spread or drizzle.  Cover until ready to use. 

When the muffins are cooked, remove from oven and place them on a cooling rack.  When they have cooled completely, spread each muffin with lavender frosting and serve.  

Millie couldn't wait.  We ate ours warm.  :)